Github Pages for your Website
Introduction
We go over GitHub Pages and set up a simple website to get familiar with the GitHub interface and learn how to use Git via command line to sync up your local repository of any existing page to your GitHub page.
A bit of background on the topic before we get started.
When creating your website, blog or a simple portfolio page you’ll eventually come to the point where you need to find a service to host it. Generally you have to choose between a paid service or try one of the free options that are often not reliable, slow or include ads.
There another option which is free as well, reliable and even has some features that traditional website services don’t include, GitHub Pages. You might have heard of Git and GitHub or even used it as version control system. Many companies use it in technical departments, wherever code is involved.
It also works great to host any type of static websites (More about static websites). My entire website is hosted on GitHub: cinereal.github.io
GitHub pages have the added benefit of enforced SSL encryption (HTTPS) and of course free version control.
So what’s the catch? It only works for static websites. Meaning if you are using a CMS or any script that dynamically generates pages or requires execution on a server it will not work. Anything PHP won’t work. What will work are script that are run on the client machine such as JavaScript.
Nowadays Static Site Generators are great alternatives to CMSs. You can create an entire website without a line of code if you don’t want to dive too deep into web development.
There’s projects that go even a step further, they provide a CMS to edit content, generate static site and sync your git repositories. The most popular one is netlifycms.org.
GitHub Account
First you need an account on github.com.
Create a repositories
Once you are logged in, navigate to your repositories. If you haven’t used GitHub this will be empty.
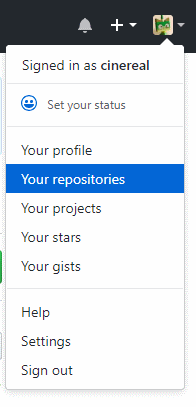
Create a new repository via the green New button.

The following dialog will show. The important part here is the naming of the repositories. If you want to use it as your website you have to name it exactly like this:
username.github.io [replace username with your own profile name!]cinereal.github.io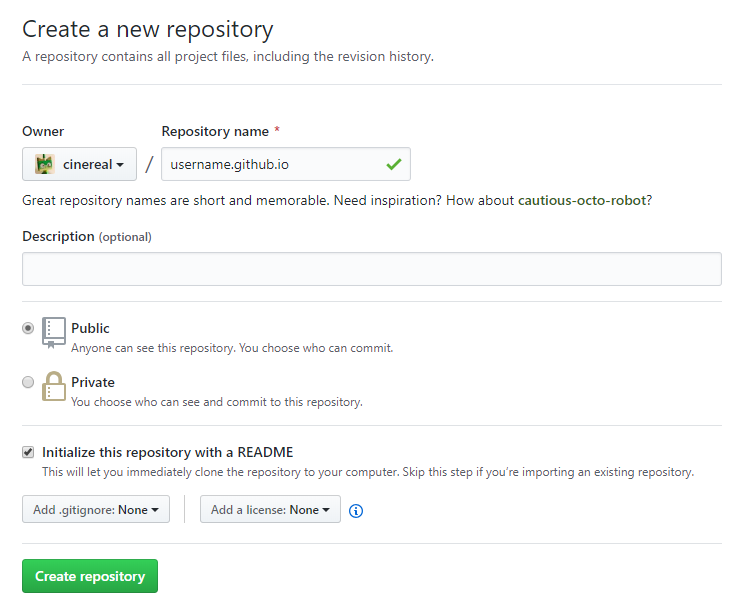
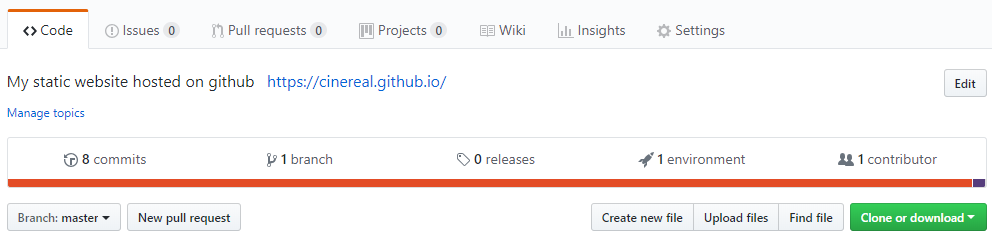
Back in the overview click on the newly created repository (My account already has more repos from other projects, don’t worry about them).

Create the index.html file
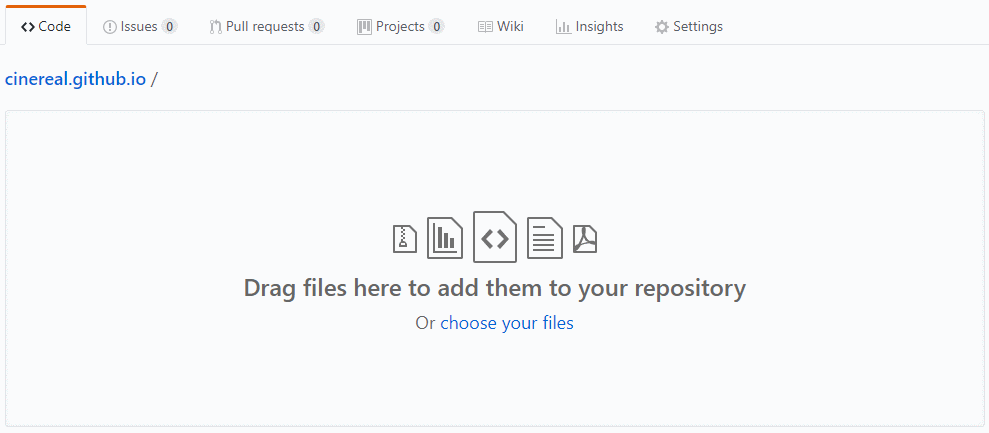
The code section should contain nothing but the empty README.md. But in order to make our website working we need to create at least one html file named index.html. To do that we select Create new file bottom right.
Here we can name the file. To use it as default page when someone visits your GitHub page it has to be named index.html. We also add the following code in the file.
<!DOCTYPE html>
<html>
<head>
<meta charset="UTF-8">
<title>My Awesome Github Page</title>
</head>
<body>
<h1>My Awesome Github Page</h1>
<p>Welcome to the most amazing website. Ever. Really.</p>
</body>
</html>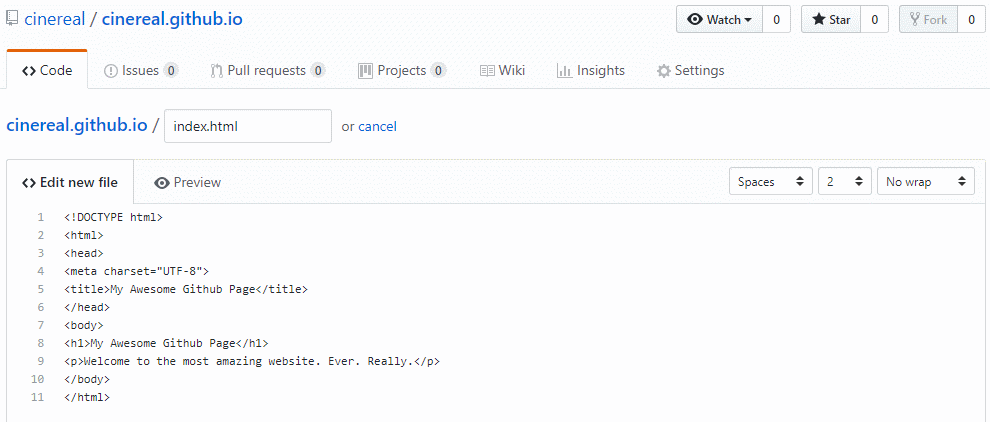
Optional if you already have page you can upload the files via Upload files right next to Create new file. If you have a full project with folder structure this would be rather tedious. Don’t worry, Git provides better ways to sync up your local version. We go over them soon.
We have a working website!
We just created a working website and you should be able to see it (replace username with your own profile name):
username.github.io
The README.md file
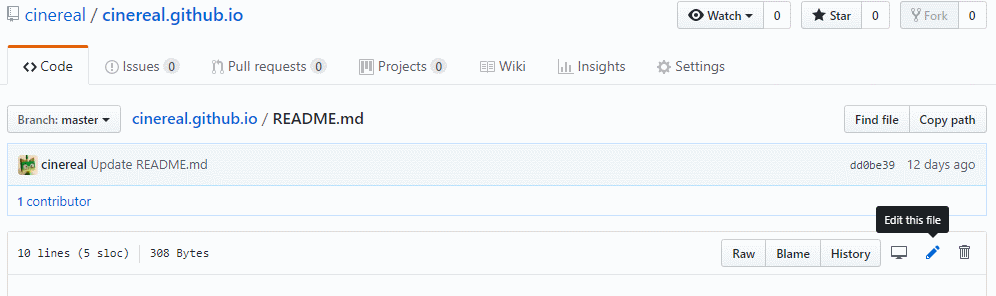
Back on the github repository page we still have our empty README.md file. Lets edit it by clicking on the file and then Edit this file.
MD stands for markdown. It allows inline text symbols to format a text. The file will show when someone clicks on your repo. Put a description of the project in there. Here’s an example of my own repo:
# cinereal.github.io
This is the repro of my static website generated with [Hugo](https://gohugo.io/).
To view the page simply go to: [cinereal.github.io](https://cinereal.github.io/)
Github pages have the added benefit of enforced SSL encryption (HTTPS).
Feel free to poke around the code and template.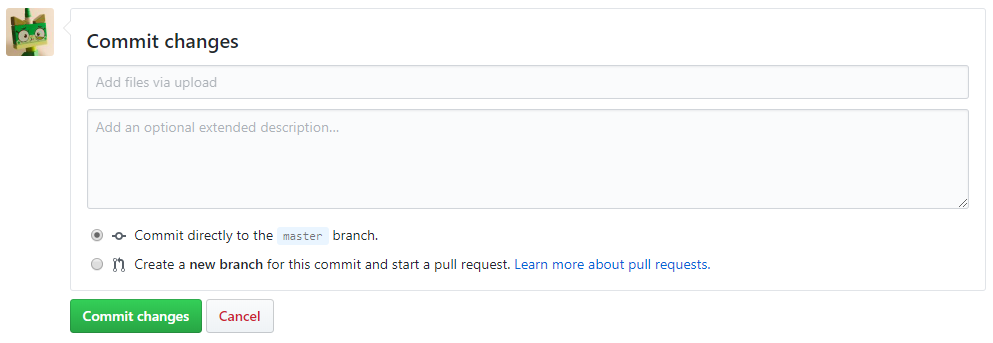
In the repository we now see the formatted README.md printed. The first line turned into an H1 title and the the links are properly displayed as such. To learn more about markdown GitHub provides a short introduction mastering-markdown.

Setting up Git
To build an actual website with proper content, folders and images we need something a bit more sophisticated than the GitHub’s upload button. Git is the perfect tool for that, we use it in a command line. It will only update files that have been changed which is essential once a project starts growing.
If you are on Linux Git is most likely already available, just type git in a shell.
On Windows you will have to install Git first. The standard installation can be found here: git-scm.com
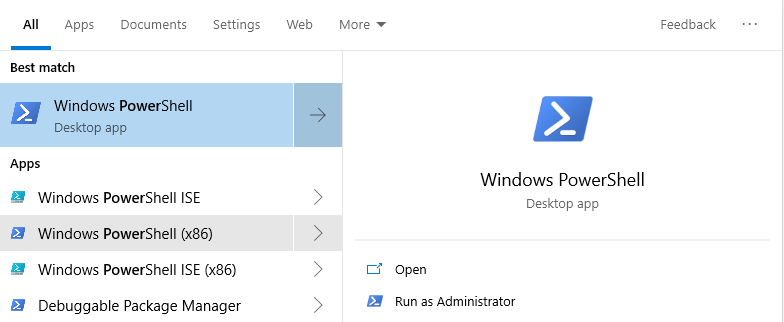
As command line tool I recommend using the Windows PowerShell. It’s as the name suggests a lot more powerful than the standard command line tool.
Here’s how to setup Git in PowerShell: Git-in-PowerShell
To find the PowerShell simply type the name in the Windows search bar. It’s only available in newer versions of Windows. If yours doesn’t include it, you might be able to download it from the Microsoft website.
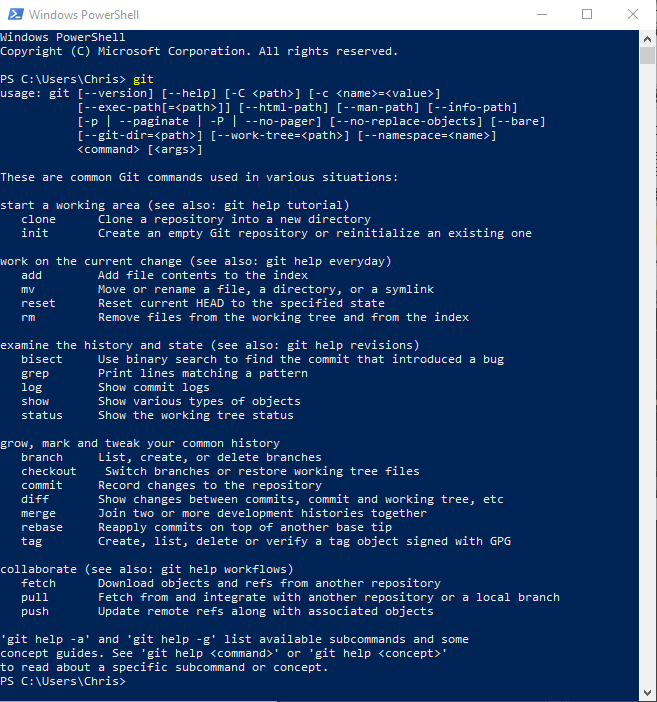
Now if you type git you should see a usage help like below.
If you use Git for the first time you also have to do a one time setup to connect it to your account. If you forget to do this, Git will remind you the first time you try to commit to a repo.
git config --global user.email "you@example.com"
git config --global user.name "Your Name"
If you are not familiar with version-control systems like Git and common terms, here’s a good start: github-glossary
Source Code Editor
To create a website you’ll need a decent editor with highlighting for HTML, CSS and JS. My personal favourite is Visual Studio Code, a lightweight source code editor that has highlighting, autocomplete and built in Git support. It has many useful extensions available such as a PowerShell integration.
If you want something simpler, Notepad++ is also a great alternative.
Pull our GitHub repository to a local drive
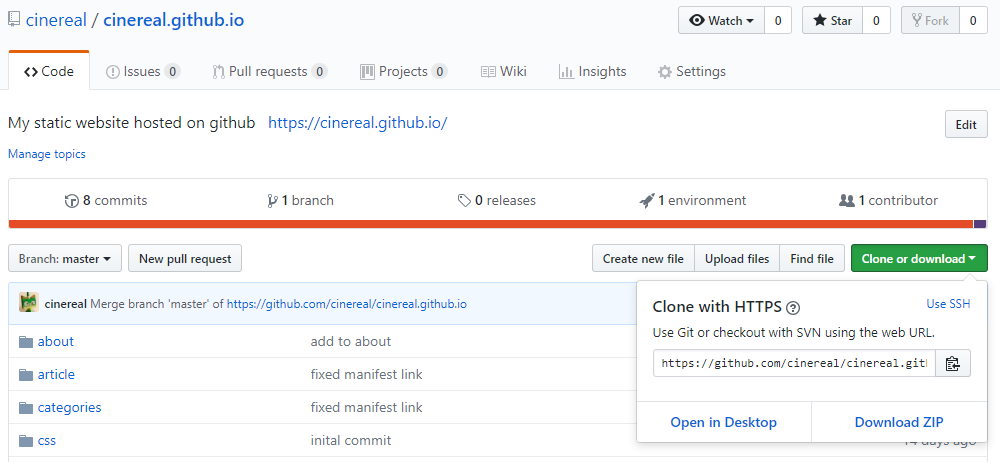
Back on the GitHub repository we select the green clone or download button and in the dialog click the copy icon or copy the path manually .
In a PowerShell we navigate to the location where we want publish the local version of the website to, use the git clone command and paste the link from GitHub:
cd E:\Website\Hugo\Sites\github
git clone https://github.com/cinereal/cinereal.github.io.git
This will create a new directory with the name of our repository including all the files we had created so far, in our case just index.html and README.md:
dir

    Directory: E:\Website\Hugo\Sites\github\cinereal.github.io

Mode                LastWriteTime         Length Name
----                -------------         ------ ----
-a----       2019-02-20   2:59 PM           7513 index.xml
-a----       2019-02-20   3:00 PM            317 README.md
To make sure we have the last version that is on server we use git checkout plus the branch name. In our case we just have master. As you start doing changes or have multiple people working on a repository you will want to create branches. But don’t worry about that for now.
git checkout masterEdit locally and push back to GitHub
Now we can start creating files and folders or change existing once. You don’t need to use the PowerShell, creating them from any tool works as long as they are inside the repository directory.
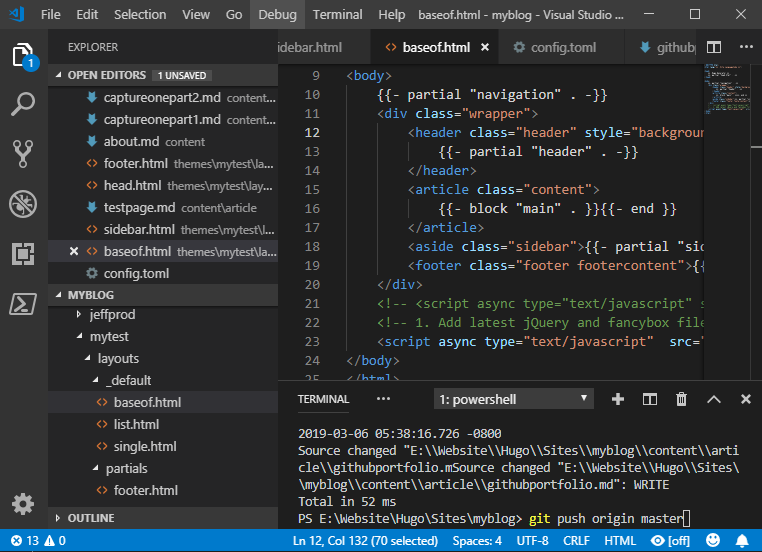
Once we are happy it’s time to push it back to GitHub. We have to use a few Git command for that. Add to add the files to the repo, via –all we can add all at once. Then we commit our change, always include a comment so you remember next time what you changed. Finally we push it back to GitHub. Git will only push changes by comparing checksums of the files. This becomes more important as your projects get more complex.
git add --all
git commit -m "inital commit"
git push origin master
Finally go back to our repository on GitHub and we should see all the files we just push.
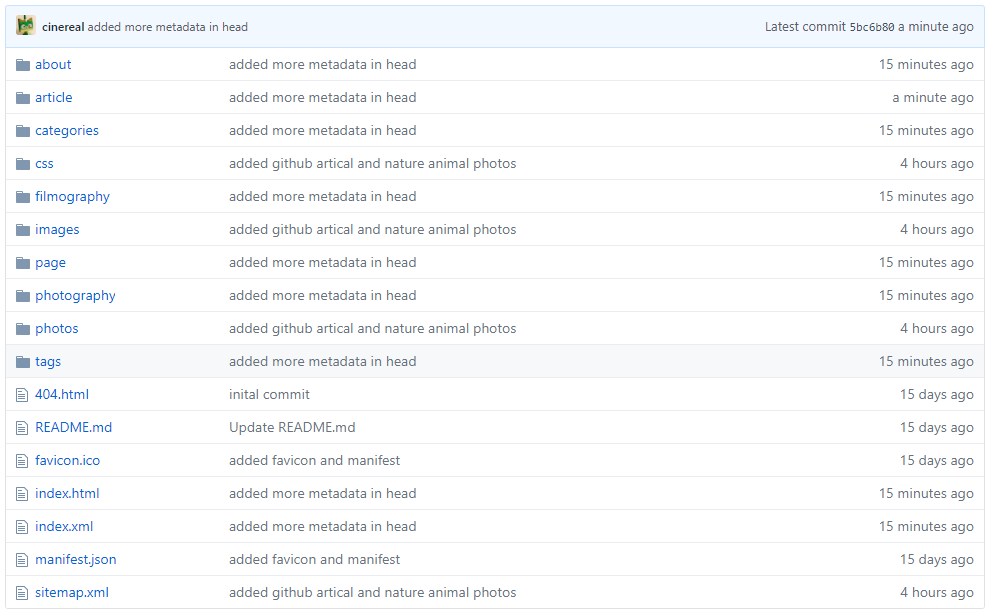
In my case I added my whole website, feel free to take a look at the repository.
And the result: cinereal.github.io
You might wonder how I created all these hundreds of files. As mentioned at the beginning of the article I’m using a Static Site Generator to render my website. Meaning it generates all these files from a template and a few markdown files automatically.
How to set up a website, blog or portfolio page with a SSG will be the topic of another article in the near future.